Showing posts with label DIY. Show all posts

Thursday, August 7, 2014

A New Use For Ribbon

A ribbon bulletin board!
(This can be made with scraps of ribbon also)
 I started by cutting the ribbon in strips that were long enough to fit horizontally across the board.


First, staple the horizontal strips to the board (example on the left).
 Next, one row at a time, staple the top of a vertical strip to the back of the canvas. Then weave the fabric and staple the end to the back (example on the right).

 I finished the back of the board with a clean ribbon stapled around the edge.
-lauren

Monday, July 21, 2014

Macarons

When I was in France I found my new obsession. French macarons! I decided to make cute boxes for candies or anything you want to put in them. I got my materials from Paper Source.
Inspiration!


***

You can make a box out of study paper using a template. There are many shapes and sizes to choose from.

Supplies:

A small box you like - purchased or made

Ribbon

A candy stamp

Embossing powder

  I used the embossing tool to put this macaron on the white ribbon
Glue the ribbon to the box (or tie it in a bow)

***

Supplies:

Paper

Scissors

Pencil

Two piece box template

 I cut out this shape for the lid
 Fold it in the places the stencil says (like this)
 Cut out this shape for the box
 Fold in these places
 Lid
 Box

-lauren

Sunday, July 20, 2014

Ribbon Creations

I just got back from a long vacation and got inspired by ribbon! I created a yellow coneflower out of a styrofoam ball. 

Supplies:

Styrofoam ball

Black ribbon cut into 4 inch strips

Straight pins

Yellow paper or neoprene


 Cut the foam paper into petal shapes
 Attach the foam with pins like the ribbon

***

My inspiration!
Ribbon shop in Paris and a giraffe and an ostrich created out of ribbon.


-lauren

Thursday, July 3, 2014

4th of July

For the 4th of July be creative with table napkins and mini meringues!
 Items needed: white chocolate, cup, plate, tooth picks, sprinkles (blue and red), & meringue made into stars (easy recipe on Martha Stuart blog or purchase pre-made.
After you bake meringues, decorate them with colors for the holiday.
 Make a pattern on the meringue by melting white chocolate. Paint a thin layer on the meringue in a pattern.
 Pour sprinkles on top.


  Use bandanas as napkins and fold into a spiral shape like a star.


A place card for guests.
 Glue this ribbon on the top.
 Cut out a star from red neoprene, felt, or paper. Any thicker material to give it a 3-D feel.


-lauren

Thursday, June 5, 2014

Fruits and Veggies

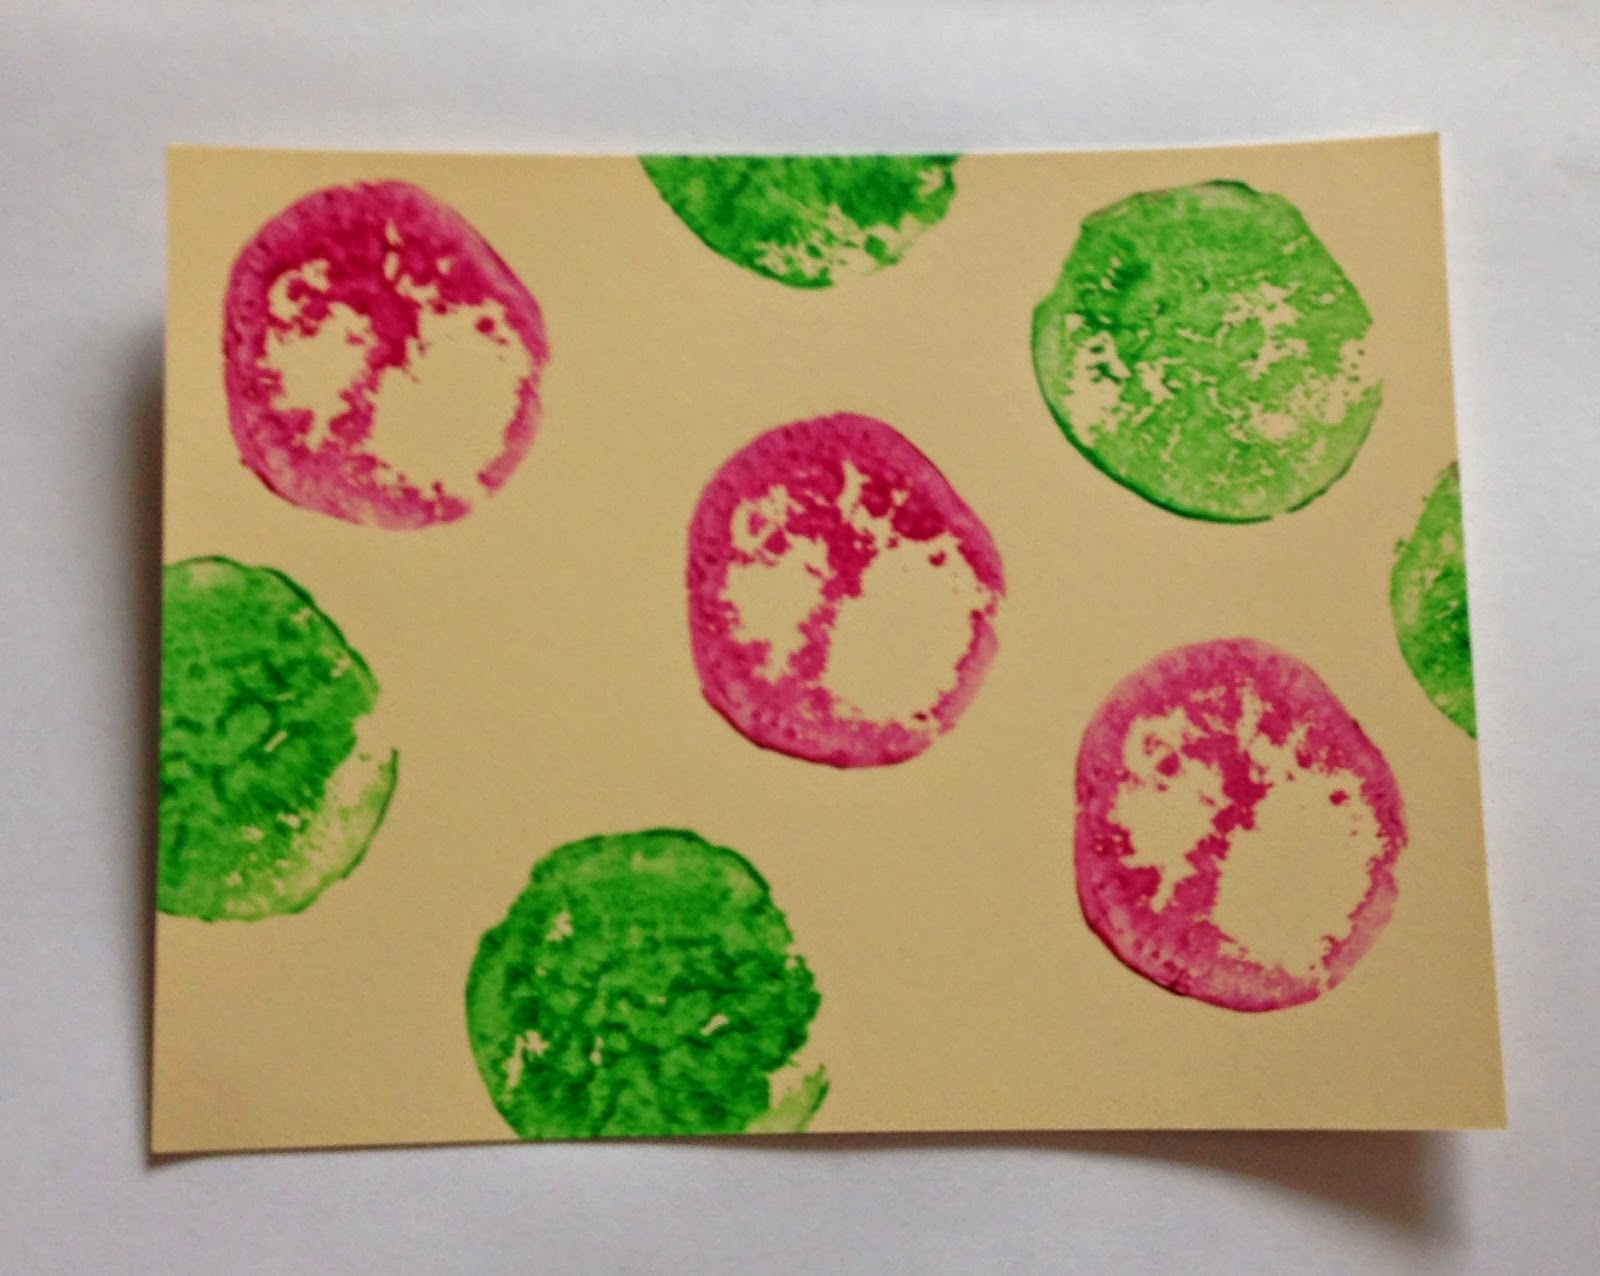
Today I created cards stamped with fruits or vegetables. It is simple and easy to do! First cut the carrot, apple, or any other kind of fruit or veggie that is firm enough to hold paint. Select your paint color next.


 Paint the fruit or vegetable with a brush and stamp it onto the card in any design.
 This is the card I made with a carrot that was cut in half. 
Radish!
 Apple!
Monochromatic!
-lauren

Saturday, May 31, 2014

Ice Vase

This summer, get fancy with an ice vase! First get a water pitcher, a cup, and a water bottle, or something heavy. Put them inside the water pitcher. Slowly add water into the pitcher not the cup. The cup and water bottle create a hole for the inside of the vase.

Put it in the freezer for about 2 hours or until its frozen.
I added these purple flowers in order to make it special! I am still trying to get this perfect without cracks. I will keep you posted for how to make it even better!
-lauren